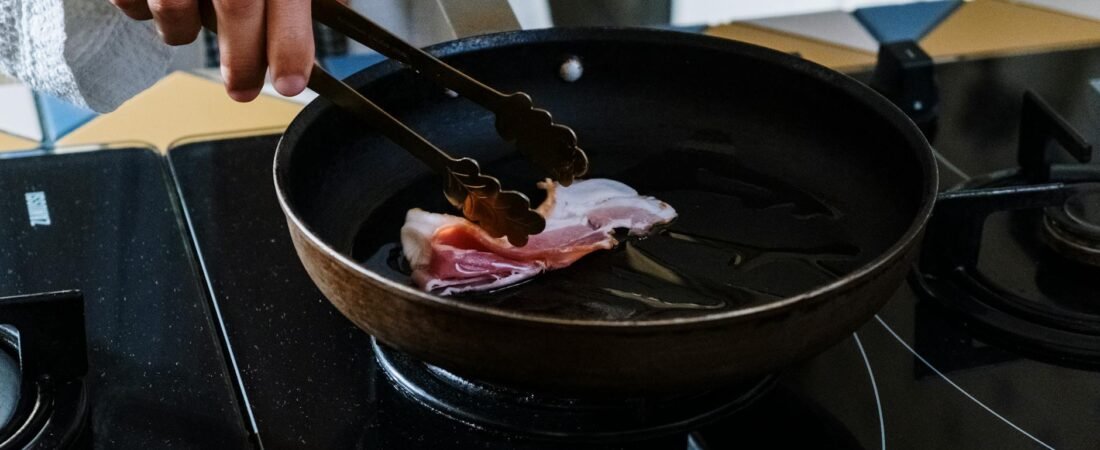
Stainless steel frustrates people because it does not forgive a sloppy sequence. If the pan is not hot enough, if the food is cold or wet, or if you try to flip proteins before they release, the surface grabs dinner and leaves you scrubbing instead of cooking. The good news is that official cookware guidance is remarkably consistent: most sticking problems come down to technique, not a ruined pan. (cuisinart.com)
That matters for household budgets too. Stainless is valued for durability and long service life, so replacing a decent skillet should usually be a later move, not the first one. Before you spend money on a “better” pan, it is worth fixing the five variables that usually cause the trouble. (cuisinart.com)
TL;DR
- Most stainless sticking starts with one of five misses: a dirty surface, weak preheat, cold or wet food, too little fat, or moving the food too early. (all-clad.com)
- The reliable sequence is: clean pan, medium preheat, water test, oil, food, then patience. (cuisinart.com)
- If the oil smokes or the food sounds like a hard crackle instead of a steady sizzle, the heat is probably too high. (cuisinart.com)
- Crowding the pan and using aerosol spray both make sticking worse. (worldstainless.org)
- If the same spot sticks every time and the base wobbles, you may be dealing with a warped pan, not just bad technique. (all-clad.com)
What is actually causing the sticking
Stainless steel is excellent for browning, but it is not coated to release food automatically. Cuisinart notes that proteins, especially eggs, fish, and chicken, are the usual sticking problems when the pan is not heated correctly. World Stainless explains the practical version of the same idea: when the pan is properly preheated and oiled, food hits a hot surface, sizzles immediately, and is less likely to bond to the metal. (cuisinart.com)
That is why stainless cooking works best as a sequence, not a temperature stunt. You are not trying to blast the pan on high heat. Official guidance from All-Clad and Tramontina leans toward low-to-medium or medium preheating, followed by oil, then food, and a lower setting once the food is in the pan. (all-clad.com)
Tip: If your water droplets vanish instantly, the pan is not ready. If the oil is smoking or the first contact sounds harsh and crackly, the pan is too hot. The sweet spot is in between. (cuisinart.com)
Run the STICK Audit before you buy another pan
The rule of thumb – you shouldn’t buy a new pan until you can pass the STICK Audit – is straightforward. This is a five-point checklist that can be done in less than one minute. For every “yes” answer you give yourself, give yourself a point. If you score 4 or 5, then you should give the pan a fair trial; scores of 2 or 3 indicate that it is likely to be the technique that is causing problems; while scores of 0 or 1 almost assure that you will be frustrated.
| Audit point | Pass if… | If not, do this now |
|---|---|---|
| S – Surface | The pan is clean, dry, and not tacky from old oil film or cooking spray. | Wash, dry, and remove residue before cooking. |
| T – Temperature | You preheated on medium or low-medium for about 1 to 2 minutes and water beads or glides. | Give it another 30 seconds, not a blast of high heat. |
| I – Ingredient | Food is patted dry and not refrigerator-cold or frozen. | Dry it well and let it lose its chill first. |
| C – Coverage | Oil or butter lightly covers the whole cooking surface. | Add a little more fat and swirl to the edges. |
| K – Keep off | You can wait for the food to release instead of prying at 20 seconds. | Set a timer and do not force the flip. |

The five-minute reset that solves most cases
Once you know the audit, the fix becomes mechanical. This is one of the most repeatable stainless routines for weeknight cooking, and it lines up closely with guidance from Cuisinart, All-Clad, Tramontina, and World Stainless. (cuisinart.com)
- Start with a truly clean pan. If it has tacky oil film or rainbow discoloration, remove residue first; old films can contribute to fresh sticking. (worldstainless.org)
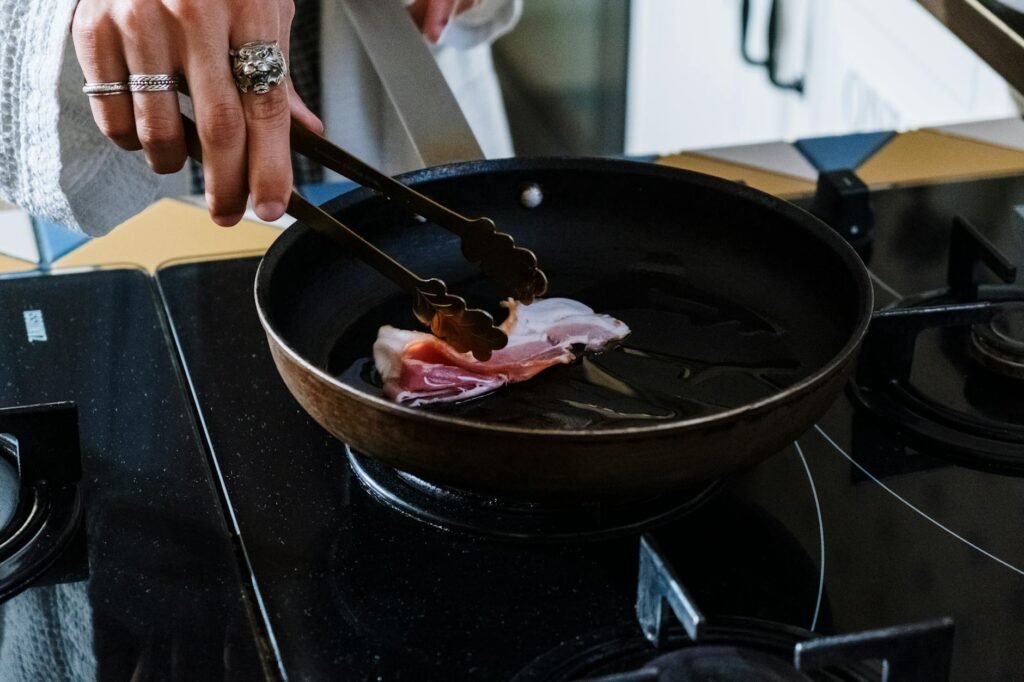
- Preheat empty on low-to-medium or medium heat for about 1 to 2 minutes, not high. (all-clad.com)
- Test with a few drops of water. When they bead and glide, dump them out. (cuisinart.com)
- Add enough oil to coat the bottom and wait a few seconds until it shimmers, not smokes. (cuisinart.com)
- Add food that is dry and not refrigerator-cold. You want an even sizzle, not a violent crackle. (all-clad.com)
- Lower the heat as needed once the food is in, then wait for natural release before turning. (tramontina.zendesk.com)
When preparing delicate foods, you should have a lower pan temperature than what you would use when searing a tough piece of beef steak, so there will be just enough fat on the bottom of the pan (both oil and butter). You need to use controlled, medium heat instead of trying to impress your guests with high heat. If you’re used to using nonstick cookware, have an open mind and this change in thinking is one way to reduce your frustration with stainless steel cookware.
Quick decision table: match the food to the fix
Different foods fail in different ways. Use the table below to change one thing first instead of randomly changing everything.
| If this sticks | Most likely reason | First fix | Backup option |
|---|---|---|---|
| Eggs | Pan or fat was not ready, or the heat stayed too high. | Preheat gently, coat the base well, then cook at low-medium. | Use a dedicated nonstick pan for very low-fat eggs. |
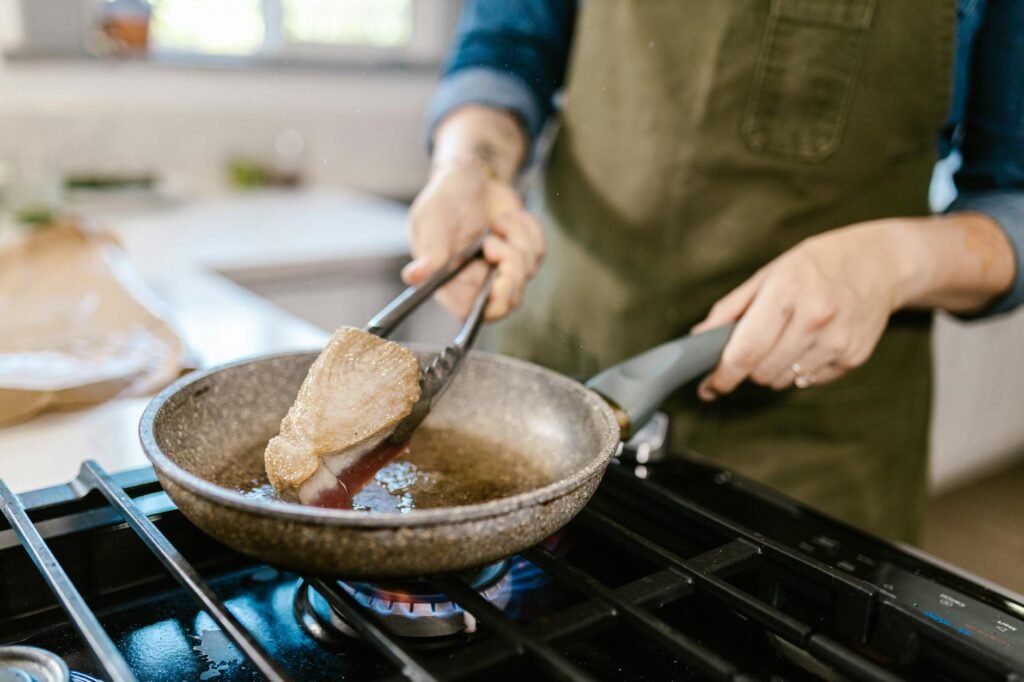
| Chicken cutlets | Meat was cold or damp, or you flipped before browning. | Pat dry, let it lose the fridge chill, and wait for release. | Cook smaller batches. |
| Fish fillets | Surface moisture and fragile proteins grabbed the pan. | Dry the surface thoroughly and do not move it early. | Use a little more oil or start only when the pan is fully ready. |
| Potatoes | Too much starch and steam in one crowded layer. | Dry them well and cook in a single layer. | Par-cook first or use a larger pan. |
| Mushrooms | Crowding flooded the pan with moisture. | Give them space so moisture can evaporate. | Use two rounds instead of one packed batch. |
What this costs in a real kitchen
Suppose your household cooks 2 pounds of boneless chicken a week at $4.49 per pound. That is $8.98 of protein. If poor stainless technique leaves even 10 percent stuck to the pan, torn, or overcooked into scraps nobody wants, you are wasting about $0.90 a week, or roughly $47 a year. That does not count extra oil, extra cleanup time, or the unnecessary urge to replace a pan that may be working fine. The cheaper move is usually to fix the sequence first.
Common mistakes that create expensive frustration
- Preheating on high because you want to save time. Most official guidance recommends medium or low-to-medium instead. (all-clad.com)
- Adding food straight from the fridge or freezer. Cold food cools the pan and increases sticking risk. (all-clad.com)
- Using just a dab of fat in a wide skillet. Stainless usually needs enough oil or butter to lightly cover the bottom. (cuisinart.com)
- Trying to flip protein before it has browned. Natural release is real; forcing it tears the surface. (cuisinart.com)
- Crowding the pan so moisture pools and food steams instead of browns. (worldstainless.org)
- Using aerosol spray, which can leave burnt, polymerized residue that makes the next cook worse. (worldstainless.org)
- Cooking on top of old food film or heat tint instead of starting with a truly clean surface. (worldstainless.org)
When the usual fix is not enough
Some foods give you very little margin for error. Eggs, thin fish fillets, and sugary marinades can still misbehave even when your technique is mostly right. And if the base of the pan has become warped from overheating or thermal shock, consistency becomes harder because the cooking surface is no longer even. All-Clad specifically notes that too much heat or cold water on a hot pan can distort the base. (all-clad.com)
- For delicate breakfasts, it is reasonable to keep one nonstick skillet for eggs and use stainless for higher-heat jobs like chicken, vegetables, and sauces.
- For marinated proteins, blot the surface well, sear first, and add the sugary glaze later.
- For batch cooking, use two pans or cook in rounds instead of loading one skillet past capacity. (worldstainless.org)
- If the pan wobbles on a flat burner, stop troubleshooting technique first and inspect the cookware. (all-clad.com)
If the pan is already sticky, reset the surface
A dirty stainless pan cooks worse the next time. World Stainless says burnt-on oils and food residue interfere with release, and All-Clad notes that leftover food films can contribute to future discoloration and sticking. For light residue, simmer water to loosen it. For tougher buildup, use a baking soda paste or a stainless cleaner with a soft sponge. For rainbow heat tint, vinegar is a common fix. Skip steel wool, harsh abrasives, bleach, and sudden cold-water shock on a hot pan. (worldstainless.org)
How to pressure-test the advice in your own kitchen
- Pick one food you cook often, such as chicken cutlets or mushrooms.
- Use the same pan and same burner three times in one week.
- Before each cook, give yourself a STICK score out of 5.
- Change only one variable each time: preheat length, food dryness, amount of fat, or batch size.
- Write down two results: did the food release with a light nudge, and did cleanup need more than a short soak?
- If you score 4 or 5 on the audit three times and the same part of the pan still sticks, the cookware may be the next suspect. (all-clad.com)
Bottom line
Stainless steel pans are not broken just because they stick. Most problems come from the order of operations: a dirty surface, weak preheat, cold food, too little oil, or moving too soon. Fix those in that order before you blame the brand or spend money replacing cookware. (cuisinart.com)
FAQ
Do I need to season stainless steel like cast iron?
No. All-Clad says seasoning is not required. For stainless, the repeatable system is a clean pan, proper preheat, enough fat, dry food, and patience. (all-clad.com)
Why do eggs stick more than chicken or vegetables?
Eggs are protein-rich and fragile, so they expose poor heat and fat timing fast. Cuisinart specifically calls out eggs as one of the foods most likely to stick when the pan is not heated correctly. (cuisinart.com)
Should I use the water droplet test every time?
It is a useful readiness check, especially while you are learning. But pair it with medium preheat and lower the heat after the food goes in. The water test is not a reason to keep cranking the burner. (cuisinart.com)
Can cooking spray make stainless stickier later?
Yes. World Stainless and All-Clad both warn against aerosol sprays because they can leave burnt residue on the surface, which makes the next cook harder, not easier. (worldstainless.org)
Why does the water test pass but my chicken still sticks?
Because pan readiness is only one part of the system. Chicken can still stick if it is cold or damp, if you used too little oil, or if you tried to turn it before it released naturally. (all-clad.com)
Is rainbow discoloration a sign the pan is ruined?
Not necessarily, but it is a sign you should reset the surface before blaming the next meal. World Stainless says discoloration is often caused by overheating and suggests vinegar for cleanup, while All-Clad notes that food films left on the pan can contribute to future discoloration and sticking. (worldstainless.org)
References
- Cuisinart – How to Prevent Food from Sticking to Stainless Steel Cookware – https://www.cuisinart.com/prevent-sticking-stainless-steel.html
- All-Clad – Warranty & Repairs | Product Support & FAQ – https://www.all-clad.com/customer-service
- All-Clad – Use and Care Guide – https://www.all-clad.com/care-use
- Tramontina USA – Cooking with Stainless Steel – https://tramontina.zendesk.com/hc/en-us/articles/360037210073-Cooking-with-Stainless-Steel
- World Stainless – Cooking Using Stainless Steel Frying Pans – https://worldstainless.org/wp-content/uploads/2025/02/Cooking_Using_Stainless_Steel_Frying_Pans.pdf